A two-way switch wiring diagram explains how to control a light from two locations using two switches․ It’s essential for home electrical systems‚ ensuring safe and efficient connections․
Overview of 2 Way Switches and Their Importance
A two-way switch is a fundamental component in electrical wiring‚ enabling control of a light or appliance from two different locations․ Its importance lies in enhancing convenience and flexibility‚ especially in spaces like hallways‚ staircases‚ or large rooms․ Unlike a single switch‚ a two-way system allows seamless operation from multiple points‚ reducing the need to install additional wiring․ This setup is energy-efficient and promotes safety by providing multiple control points․ Understanding its function is crucial for homeowners and electricians‚ as it simplifies lighting management and reduces installation complexity․ The ability to operate lights from two switches ensures practicality and ease of use in modern home automation systems․
Components Used in a 2 Way Switch Wiring Diagram
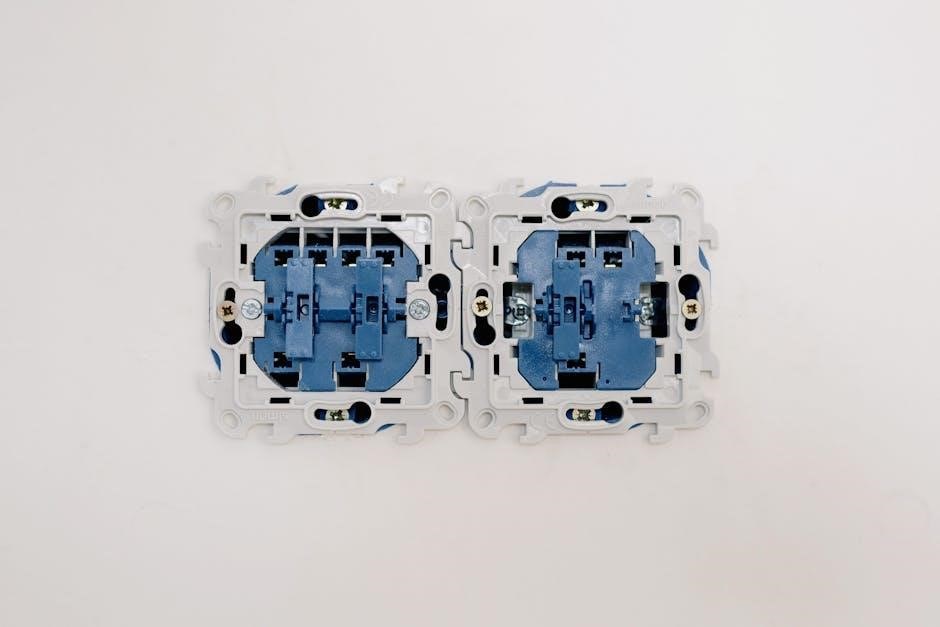
A two-way switch wiring diagram typically includes a two-way switch‚ live wires‚ neutral wires‚ and earth wires․ The switch features three terminals: common‚ L1‚ and L2․
Key Components: Switches‚ Wires‚ and Terminals
In a two-way switch wiring diagram‚ the primary components include the switches‚ wires‚ and terminals․ The two-way switch itself is a crucial element‚ featuring three terminals: the common (C)‚ L1‚ and L2 terminals․ These terminals allow the switch to reroute the electrical current․ The wires involved typically include the live wire‚ neutral wire‚ and earth wire‚ each serving distinct roles in the circuit․ The live wire carries the power‚ while the neutral completes the circuit‚ and the earth provides safety․ Proper connections between these components ensure the switch functions correctly‚ enabling control of the light or appliance from two locations․ Understanding these components is essential for safe and effective wiring․
Safety Precautions for 2 Way Switch Installation
Always turn off the power supply at the main electrical panel before starting․ Use a multimeter to verify the absence of voltage․ Wear protective gloves and eyewear to prevent electrical shocks․ Ensure all wires are securely connected to avoid short circuits․ Never work on live circuits‚ and keep the area dry to prevent accidents․
Essential Safety Measures Before Starting the Wiring
Before beginning a 2-way switch wiring project‚ ensure the power supply is completely turned off at the main electrical panel․ Use a multimeter to verify that no voltage is present at the wiring points․ Wear appropriate protective gear‚ including insulated gloves and safety glasses‚ to safeguard against electrical shocks․ Ensure the work area is well-lit and free from clutter․ Avoid working in damp conditions‚ as moisture increases the risk of electrical hazards․ Secure all wires and connections tightly to prevent short circuits․ Never attempt to work on live circuits‚ and always follow the wiring diagram carefully to maintain safety and efficiency throughout the installation process․
Understanding the 2 Way Switch Wiring Diagram
A 2-way switch wiring diagram illustrates the connections between switches‚ wires‚ and terminals․ It helps visualize how electricity flows through the circuit‚ ensuring proper installation and safety․
Interpreting the Diagram for Proper Connections
Interpreting a 2-way switch wiring diagram involves identifying the common terminal‚ traveler wires‚ and load connections․ The diagram shows how the switches and light are linked․ The common terminal connects to the power source or light‚ while traveler wires enable control from two locations․ Ensure the black (hot) wire connects to the switch’s brass terminals‚ and the white (neutral) wire links to the light․ Properly following the diagram prevents short circuits and ensures safe operation․ Always verify connections with a voltage tester and consult the diagram for specific configurations‚ such as three-wire systems or intermediate setups․ Correct interpretation guarantees reliable and efficient lighting control from multiple points․
Standard 2 Way Switch Wiring Diagram Explanation
A standard 2-way switch wiring diagram shows two switches controlling a light from two locations․ It uses a three-wire system‚ with common‚ L1‚ and L2 terminals for proper connections․
Step-by-Step Guide to Connecting the Wires
To connect the wires in a 2-way switch wiring diagram‚ start by identifying the terminals on the switches․ The common terminal is usually marked as COM or colored differently․ Connect the live wire (usually red) from the power source to the COM terminal of the first switch․ Next‚ connect the traveler wires (usually brown or gray) between the L1 and L2 terminals of both switches․ Finally‚ connect the neutral wire (blue) directly to the light fixture․ Ensure all connections are secure and double-check the wiring before turning the power back on․ This setup allows the light to be controlled from either switch‚ providing a reliable and efficient solution․
3 Wire Control System in 2 Way Switch Wiring
The 3-wire control system enables two-way switches to control a light from two locations․ It uses a common terminal and two traveler wires to connect the switches․
How the Three-Wire System Functions
The three-wire system in a 2-way switch setup allows control of a light from two locations․ It consists of a common terminal and two traveler wires․ The common terminal connects to the power source‚ while the traveler wires link the two switches․ When one switch is toggled‚ it creates a closed circuit through the travelers‚ enabling the light to turn on or off․ This system ensures that the light can be operated from either location‚ providing flexibility and convenience in lighting control․ Proper wiring is essential to avoid short circuits and ensure safe operation․ This setup is widely used in residential and commercial spaces for efficient lighting management․

Common Mistakes to Avoid in 2 Way Switch Wiring
Common mistakes include incorrect wire connections‚ forgetting to turn off power‚ and using the wrong wire colors․ Ensure all connections are secure to avoid short circuits and ensure safety․
Troubleshooting Tips for Successful Installation
When installing a 2-way switch‚ common issues like lights not turning on or flickering may occur․ First‚ ensure the power is off and all connections are secure․ Check if the correct wires are connected to the common (COM)‚ L1‚ and L2 terminals․ Verify that the live wire is connected to the COM terminal and not the traveler wires․ If the light still doesn’t work‚ test the switch by swapping the L1 and L2 wires․ Use a multimeter to check for power at the switch and load․ Loose connections or incorrect wiring are often the root cause․ Always consult a wiring diagram to confirm connections and ensure safety․

Tools Required for 2 Way Switch Wiring
Essential tools include a screwdriver‚ wire strippers‚ pliers‚ voltage tester‚ and multimeter․ These ensure safe and precise connections when working with a 2-way switch wiring diagram․
Necessary Tools for a Safe and Efficient Setup
To safely and effectively install a 2-way switch‚ essential tools include a screwdriver for terminal connections‚ pliers for gripping wires‚ and wire strippers for exposing conductors․ A voltage tester ensures no live electricity is present‚ while a multimeter verifies circuit continuity․ Optional tools like fish tape or cable rods aid in wire routing․ A ladder or step stool may be needed for high installations․ Always wear safety gear‚ such as gloves and goggles‚ to prevent accidents․ A wire connector or crimping tool is useful for securing connections‚ and electrical tape can insulate exposed wires․ Proper organization with a toolbox or wiring diagram keeps the process efficient and error-free․

Step-by-Step Installation of a 2 Way Switch
Begin by turning off the power and verifying with a voltage tester․ Connect the live wire to the common terminal of the first switch․ Then‚ link the traveler wires between the L1 and L2 terminals of both switches․ Finally‚ attach the neutral wire directly to the light fixture and ensure all earth wires are securely connected․ Test the switches to confirm proper functionality․
Practical Guide to Installing the Switch Correctly
Start by ensuring the power is off and verifying with a voltage tester․ Identify the common (C)‚ L1‚ and L2 terminals on the switch․ Connect the live wire to the common terminal․ Link the traveler wires (L1 and L2) between the two switches‚ ensuring they are securely attached․ Finally‚ connect the neutral wire directly to the light fixture and earth wires to the earth terminals․ Double-check all connections for tightness and test the switches to confirm proper operation․ Always follow safety guidelines to avoid electrical hazards․

Troubleshooting 2 Way Switch Wiring Issues
Identify common issues like faulty switches or loose connections․ Check if wires are securely attached and verify the switch terminals․ Test the circuit with a voltage tester to ensure proper power flow and isolate the problem before repairing․
Identifying and Fixing Common Problems
Common issues in 2-way switch wiring include lights not turning on‚ flickering‚ or staying on permanently․ These problems often arise from loose connections‚ incorrect wire color coding‚ or faulty switches․ To troubleshoot‚ start by checking all wire connections and ensuring they are secure; Verify that the common terminal is correctly connected to the live wire․ If using a 3-wire system‚ ensure the traveler wires are properly linked between switches․ Test the circuit with a voltage tester to confirm power flow․ If issues persist‚ replace the switch or consult a wiring diagram for clarity․ Always turn off the power supply before attempting repairs to ensure safety․